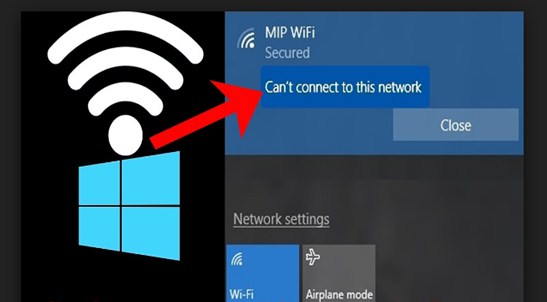
All Desktop and Laptop users probably found this problem that “Can’t connect to this Network”. So this problem generally arises when you are connected to some LAN or Wireless Network. So you all want to know “How to fix Windows 10 can’t connect to this network”? Yes, this topic will definitely help you all about to come from this problem easily. This is a primary issue which will start to show in your Network connection area while establishing an internet connection.But here we will list out some of the best solution which you can apply on Windows 10 for fix up this problem.
Some users basically try some primary steps like plug out the LAN cable and plug in again, switch off the Wi-Fi and turn it on again, switch of the router and re restart the router after sometimes etc. But still you will get the same issue that your PC can’t connect to this network. So some basic and advanced steps you need to apply with your network address, network adapter and also need to change some network settings. So follow the steps which are described below and apply the same on your Windows 10 PC.
Also Read: tiworker.exe Windows Modules Installer Worker
Steps To fix Windows 10 can’t Connect To This Network
If any users facing the problem that you are not getting connect to the internet then there are some best solutions for you to try in Windows 10.
Solution No. 1: Initial Try
First of all you can try this step which helps you to fix and enable your internet connection. This is a troubleshooting method for your internet connection.
- If you have modem or wireless router in your home or office then switch it off and restart again. So you can newly reconnect with your Internet Service Provider. For some time you will disconnect from the Wi-Fi network and connect it again with your PC.
- Unplug or disconnect the power cord or cable of modem or router device and keep sometime in a turn off mode. After minimum 30-60 seconds you need to power on the modem or router again. (Some modem or router comes up with battery or cell backup so you need to remove the battery or cell also)
- Wait for some times that your router or modem completely loads to connect with the ISP server and all the signal lights are properly blinking.
- Now turn on your PC or Laptop and connect it again with the router.
You can also find out or view the Wi-Fi connection details from the command prompt also. So from taskbar you get search box -> Write Command Prompt -> right click on Command Prompt -> Run as administrator. Command prompt window will open write netshwlan show wlan report in that and press Enter to get the Wi-Fi details.
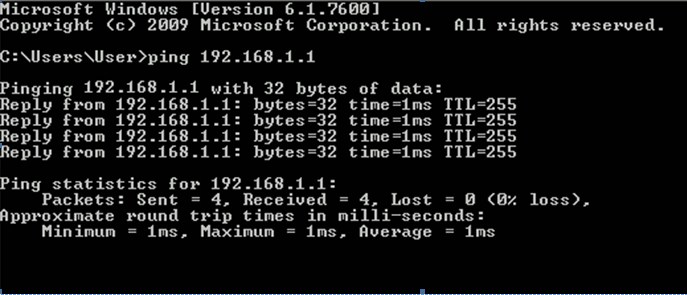
Now you can check the connection with the help of Packet transfer method. If the no. of packets sent to server is equal to the no. of packets received to the receiver then your connection is OK. From command prompt window type ipconfig and press Enter. You can now find IP Address which is present near the Default Gateway. IP Address will be displayed like 192.168.1.1. Write ping 192.168.1.1 now, which will display like total reply from host and also show you Packets: Sent = 4, Received = 4, Lost = 0 (0% loss).
Solution No. 2: Network Trouble shooter
This is another step to troubleshoot your network settings by using some simple steps.
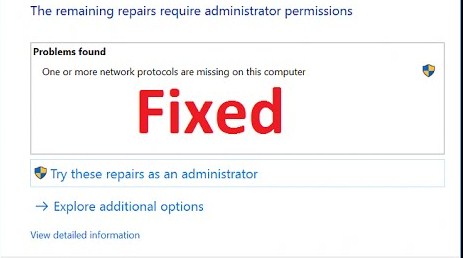
- From search box of taskbar just type “network trouble shooter” and select Identify and repair network problems from the search result.
- Follow the on screen advice and go forward to repair the problems.
If the problem still arises then follow these steps –
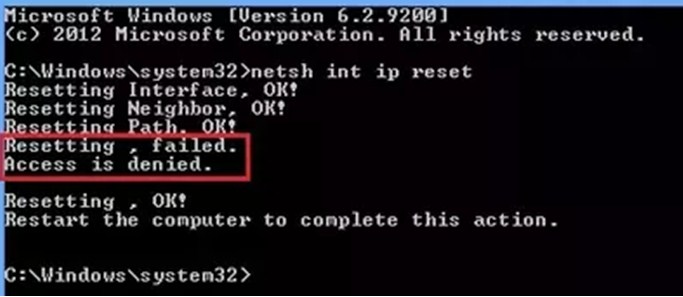
- Open the Command Prompt window like before and start to type the following commands.
- netshwinsock reset and pressEnter.
- netshintip reset and pressEnter.
- ipconfig /release and press Enter.
- ipconfig /renew and press Enter.
- ipconfig /flushdns and press Enter.
Solution No. 3: Update and Rollback Network Adapter Driver
These steps help you to update or roll back your installed Network Adapter Driver from your system only.
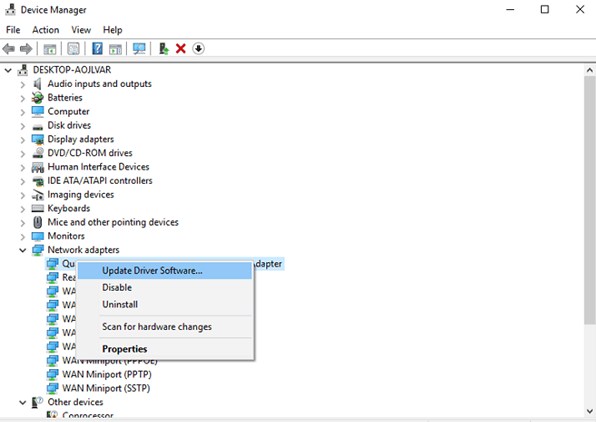
- Type in taskbar search box “Device Manager” and select the “Device Manager” option from the list.
- Device Manager -> network Adaptors -> Network Adaptor name.
- Right click on Adaptor and select Update Driver.
- Update driver -> Browse my computer for Update driver-> Browse and select update driver file form Computer -> Ok-> Follow the steps -> Next -> Close.“OR”Update driver -> Search automatically for updated driver software -> Follow the steps -> Close.
- Once the process completed then once you need to restart your PC or Laptop for a single time.
After or before if you are connected to a pre- installed or newly installed network driver then you can roll back it using these steps.
- Type in taskbar search box “Device Manager” and select the “Device Manager” option from the list.
- Device Manager -> network Adaptors -> Network Adaptor name.
- Right click on Adaptor and select
- Properties -> Driver -> rollback Driver -> follow on screen steps.
- If the roll back button is absent then there is no driver to roll back.
- Now again restart you whole PC or Laptop.
Solution No. 4: Network Reset and Temporary Disable Antivirus Software
The last step is to reset your Network Devices.
- Click on Start Button -> Settings -> Network and Internet -> Status -> Network reset.
- On network reset -> reset now -> yes. Wait for your System to restart completely.
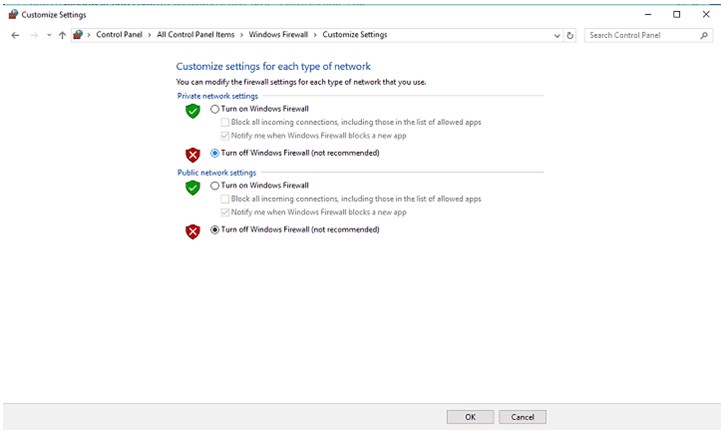
If you have any Antivirus software installed in your PC then please turned off it for a temporary period of time from the user manual of your Antivirus Software. Or open the Antivirus window and search it settings to turned it off or disable it for a certain period of time.
Final Words
So these are all the possible techniques or solutions which are used to fix the issues for fix network issues in Windows 10.Hope you all get aware about “how to fix Windows 10 Can’t Connect to this Network”. All the Above solutions are totally usable in Windows 10 PC and workable to solve your network issues. User can easily perform these tasks on their PC. If anybody faces any problem in applying these steps then they need to take help from computer experts. Because if you attempt any wrong steps while doing this troubleshooting task it may harm your Windows 10 PC’s other relevant software or hardware. Hope this information has been helpful to you.